- Minecraft Circle Generator (Pixel Circle Generator)
- Highlighting Features of our Pixel Circle Generator
- How does circle generator in Minecraft work?
- Tool definitions and descriptions
- How to make a circle in Minecraft Circle Generator?
- How to make circle inside circle in Minecraft? (CIC Mode)
- Unique features that you won’t find in other Minecraft Circle Generators
- Circle examples generated with the tool
- Tips to get faster and better experience
- What other games you can use Pixel Circle Generator for?
- FAQs
- Conclusion
Minecraft Circle Generator (Pixel Circle Generator)
Are you a Minecraft enthusiast wishing to advance your construction abilities? Look nowhere else! Our unique Minecraft Circle Generator is a fantastic tool created to change your building tasks in the blocky world of Minecraft, and we are happy to introduce it to you.
Whether you call it a “Minecraft Circle Generator,” “Minecraft Ellipse Generator,” or a “Pixel Circle Generator“, this tool is the solution to all your needs for building circular structures in Minecraft.
Building perfect circles in Minecraft has always been a challenge, requiring meticulous planning, time-consuming calculations, and pixel-perfect precision. But fret no more! Our Minecraft Circle Generator is here to simplify the process, allowing you to effortlessly generate circle templates of any size and diameter with just a few clicks.
Whether you’re constructing majestic towers, intricate domes, or awe-inspiring sculptures, our tool provides you with the flexibility and precision needed to bring your creative visions to your Minecraft world.
Highlighting Features of our Pixel Circle Generator
While there are already a few options available on the internet for Minecraft circle generators, Gamingskool‘s version has much uniqueness and provides you with more fascinating features. Here are the top features available in Gamingskool’s Minecraft block circle generator:
Note: Throughout this guide, the words “circle” and “graph” will be used often for all kinds of ellipses.
- Toggle between circles and ellipses (with unequal width and height).
- Generate even large circles (recommended to stay within 500×500).
- Choose between the thickness of the circle (thick, thin, filled, or custom).
- Indicates the axes and center for both even and odd circles/ellipses.
- See the total number of blocks you will need in Minecraft to build the circle/graph. For convenience, you can also see the equivalent number of stacks required.
- You can highlight any block in the canvas to track your progress or fulfill any other requirement. The number of highlighted blocks will be visible in the results section.
- If you highlighted a wrong block by mistake, you can erase it by enabling the erase option.
- Zoom in and zoom out seamlessly. If the slider of 100 is insufficient, input a larger value in the input box to scale the graph further.
- Hover over a particular block in the canvas to see its coordinates. It will be highly useful when building a particular circle in-game.
- To save the generated graph/circle, choose an option between Download as “PNG” or “SVG.”
- In additional features, you can customize the colors of canvas/graph elements with your favorite colors.
- You can also insert a smaller circle of given width and height inside the original (bigger) circle with an exciting CIC (Circle inside Circle) mode.
How does circle generator in Minecraft work?
Minecraft is a blocky game which means you will need to place blocks in such a way that it resembles a perfect circle. Without any template, if you try to make a circle in-game, it may take you 4 to 5 times or even more time as compared to the time it will take you to build the same circle by following a template.
The Minecraft circle generator tools provide you the template for your desired size of the circle in pixel style so that you can implement the template in-game easily.
Talking about the working mechanism of the circle generator tool, it uses several algorithms and programming to generate perfect-looking pixel-style circles. It takes the necessary inputs from you as per your requirement, renders the circle, and generates the output in the form of a grid graph, representing in-game blocks.
It is worth noting that the tool’s performance in terms of speed may vary according to the computers in which it is being used.
Tool definitions and descriptions
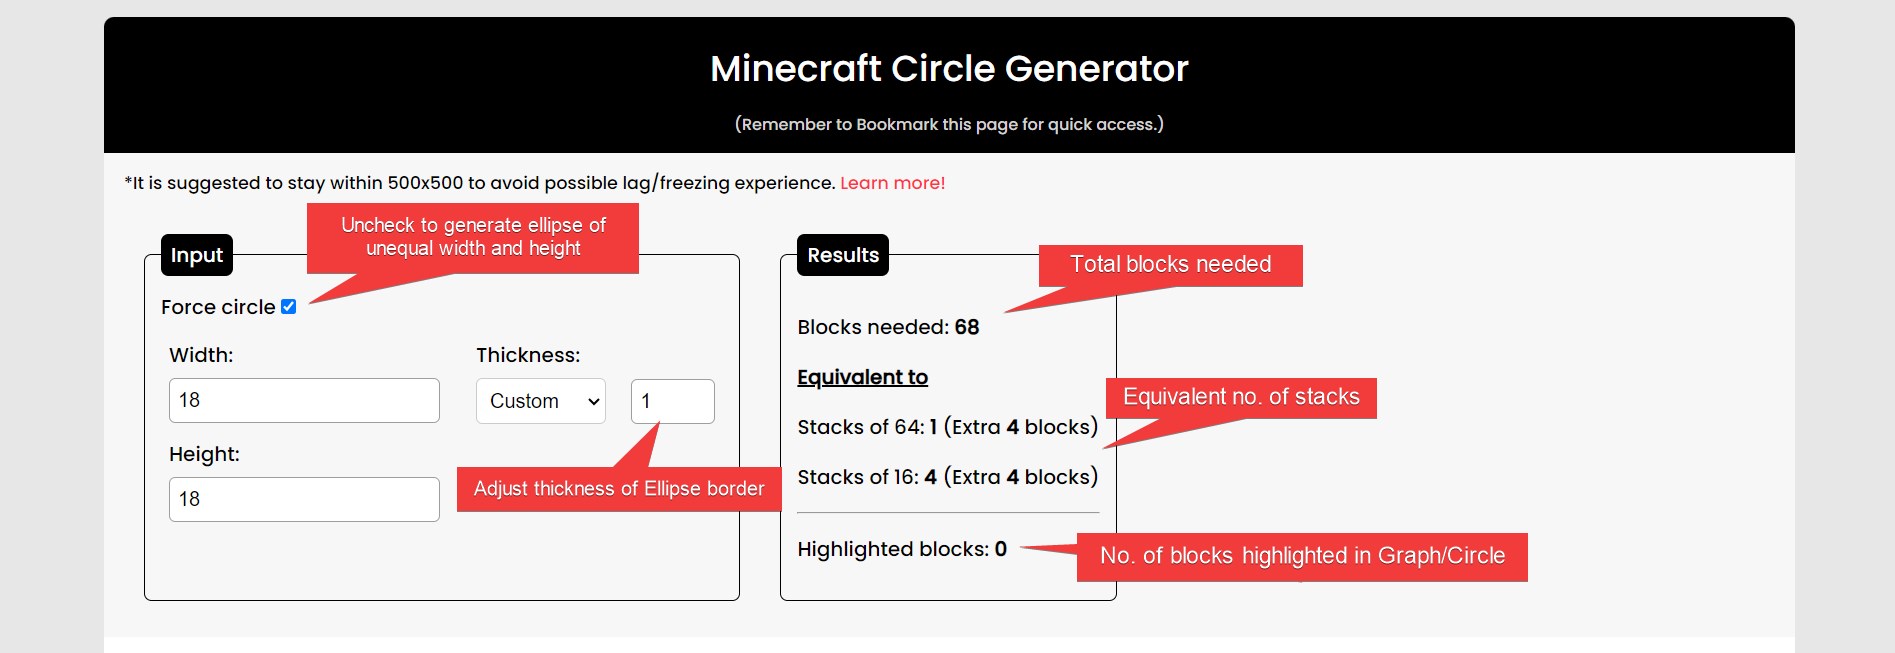
Input section
- Force circle: Enable this checkbox to equalize width and height to form a circle. Uncheck it to generate an ellipse of unequal width and height.
- Width and Height: In these fields, input the width and height (in blocks) of the ellipse you want to build in-game.
- Thickness: Choose an appropriate option from the thickness dropdown to adjust the thickness of the ellipse/circle. Use the “custom” option to specify any width (obviously less than the radius of the circle).
Results section
- Blocks needed: It shows the number of blocks needed in-game to build the particular circle/graph (excluding the center and axes).
- Equivalent to: Two values under this represent the converted value of blocks into stacks of 64 and 16. It will help you manage your inventory when building the circle. Try our Minecraft Stack Calculator.
- Highlighted blocks: This value shows the number of blocks you highlighted in the graph/canvas generated below. You can highlight any block (to be discussed in the upcoming section). It will help you to track your progress in building the circle.
More Options section
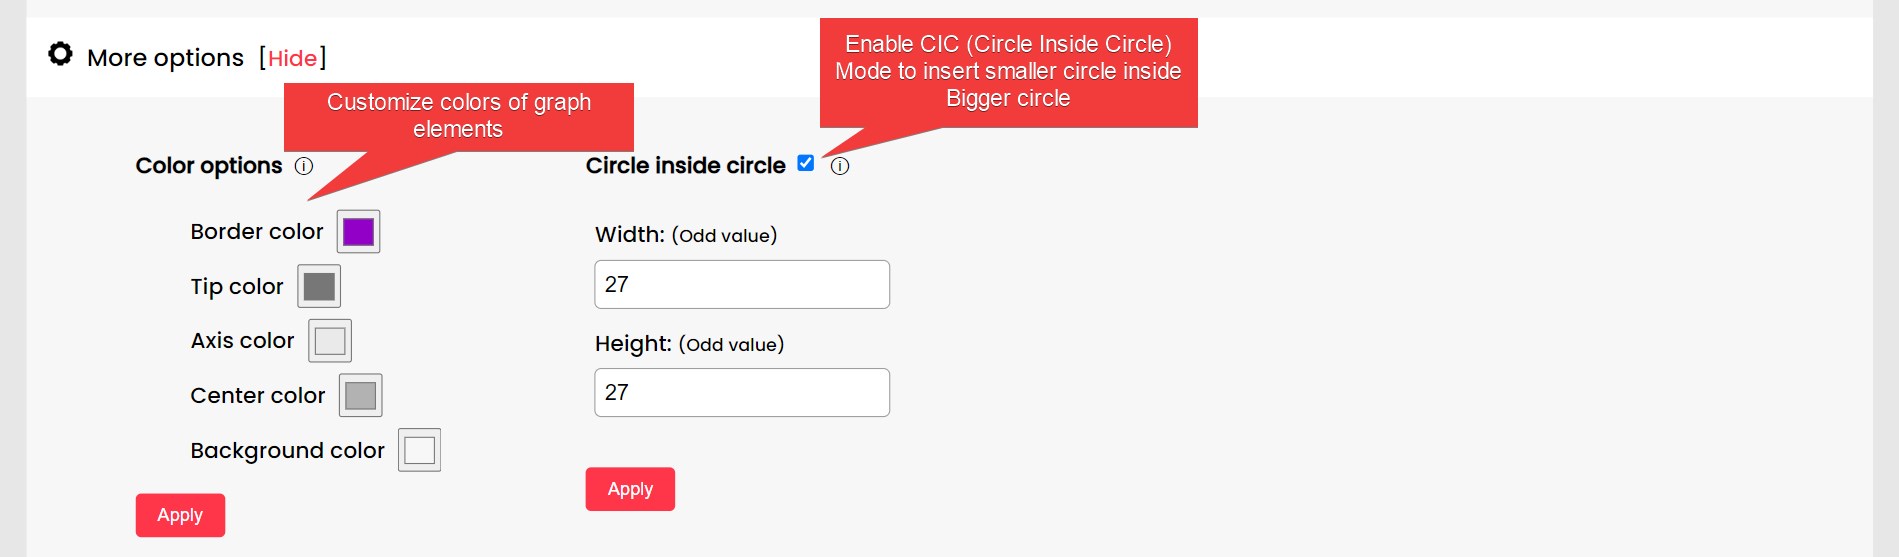
- Color options: Change the color of graph elements: Border, tip, axis, center, and background colors, to your favorites. You may dislike looking at eye-straining colors for longer. So change those colors as per your preferences.
- Circle inside circle (CIC) mode: Enable this feature to insert another smaller circle of given width and height into the bigger (original) one. In the width and height fields, input the type of integer (Odd/Even) as specified. Also, turn this mode off before changing the size of the bigger circle.
Graph control options
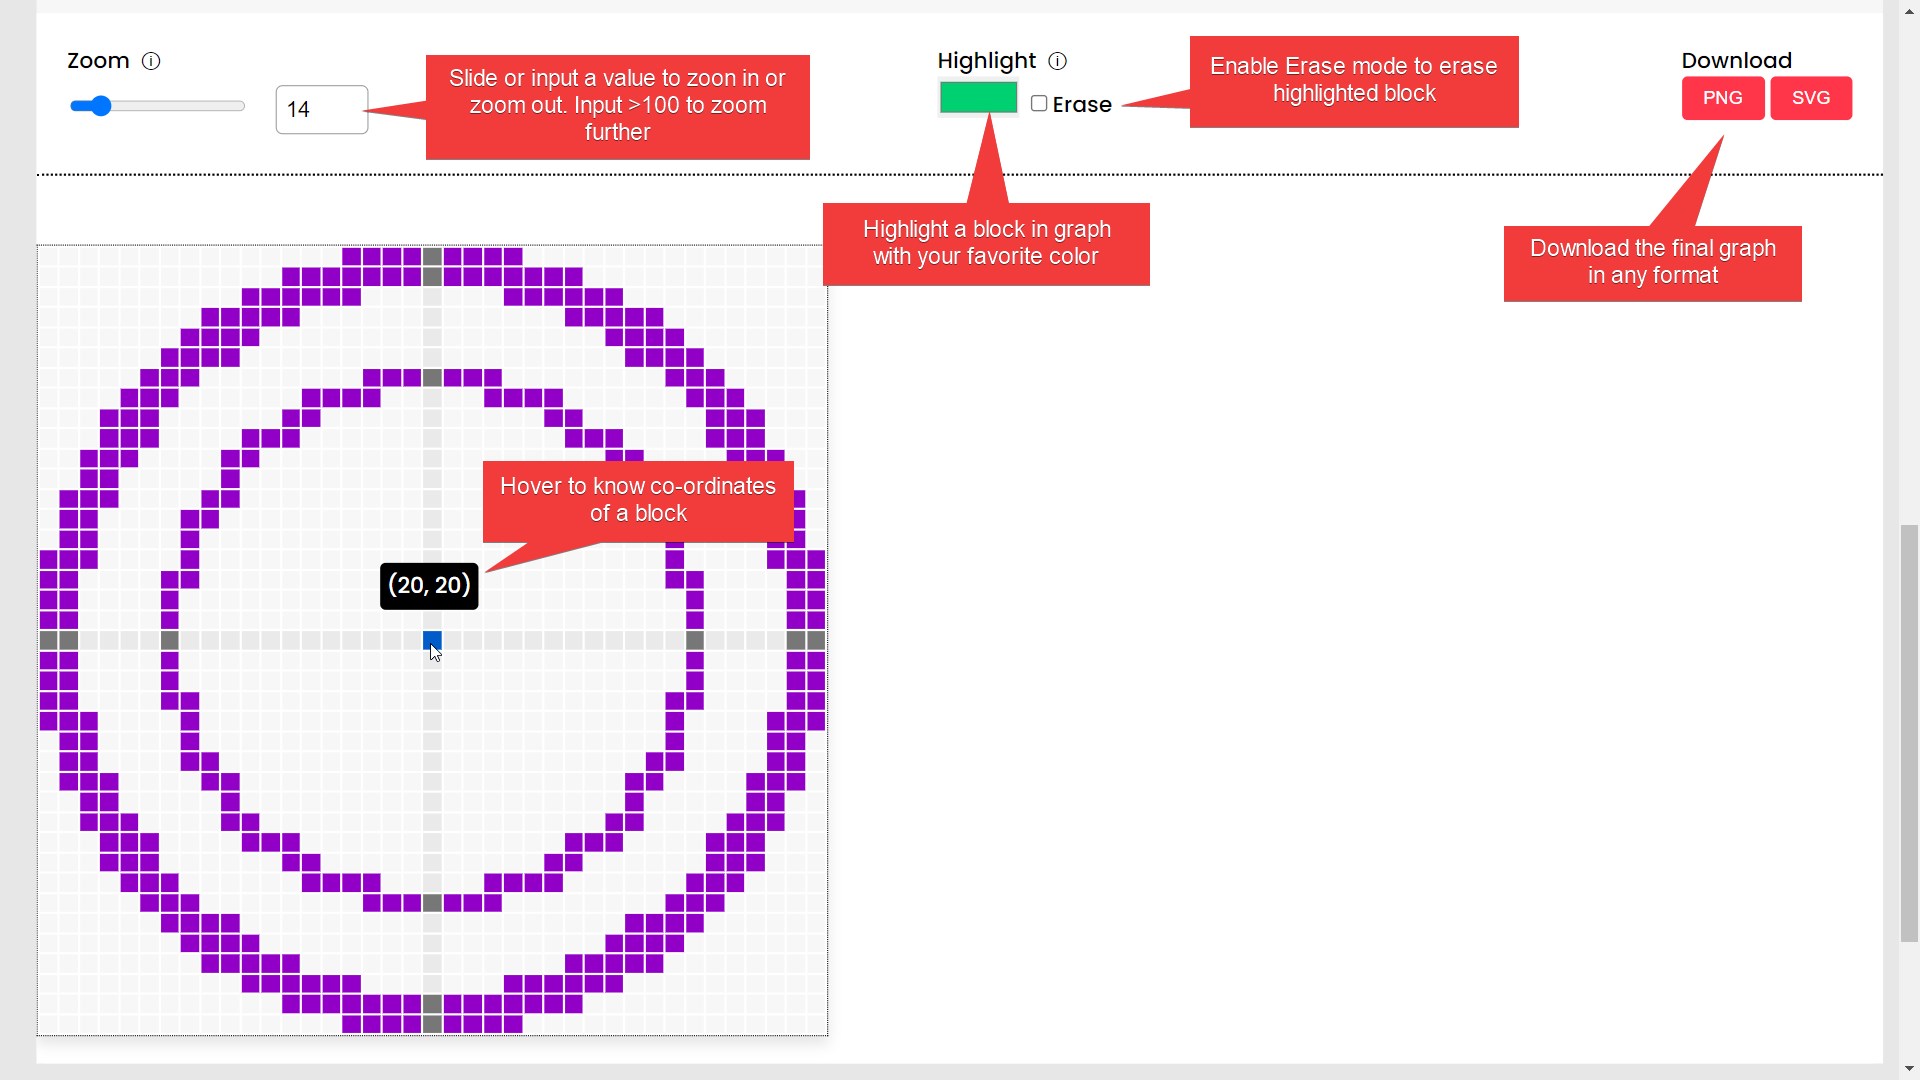
- Zoom: Slide the slider to zoom in and zoom out the generated graph between 1 and 100. To scale it further, enter a value greater than 100 in the input field.
- Highlight and Erase: Choose a color and click on any block within the canvas to highlight that particular block. Highlighted a wrong block; no worries, enable the erase mode and click the same block again.
- Download: You can download the generated graph in two formats: PNG and SVG.
- Block coordinates: You can see the coordinate of blocks by hovering over them. It will be very helpful when building large circles for tracking.
Note: The SVG format does not include the highlighted color, while PNG does.
How to make a circle in Minecraft Circle Generator?
To make a circle in the Minecraft circle generator, you only need to specify the width and height of the circle. However, you can do a lot more with our tool. Let’s dive deep into utilizing most of the tool’s features and make varieties of circles in Minecraft.
Making Odd Circle in Minecraft

A circle having odd width and height values is called an odd circle. In such circles, there is only one center and the axes are of a thickness of 1 block. Building this circle in-game is comparatively easier than that of even type.
Follow the instructions below to make an odd circle using the Minecraft circle generator and then use the template to build it in-game:
Step 1: Input odd width and height values in the input section and subsequently set a thickness as per your requirement. It will automatically generate a pixel circle of the given properties. Moreover, you can insert another smaller circle inside it using the CIC mode if you like. Let’s consider a thick 25×25 circle for this example.
Step 2: Now, keep the pixel circle opened in one window and start implementing the same circle template in-game. Firstly, place a block anywhere that acts as the center.
Step 3: Now, as per your convenience, either build the two axes first and then build the tip or directly start with the tip. The top tip will be at the 12th position above the center, with a coordinate of (1, 13). The left tip is at the 12th position in the left of the center, with a coordinate of (13, 1). Similarly, build the remaining tips first.
Step 4: After placing the tip blocks, now build the boundary of the circle. Start with the first quarter and finish it first. Subsequently, you can follow the same pattern for other quarters as well. You should take the help of the tooltip, showing the coordinates of the block, for large circles.
After you have completely built the circle/ellipse, you may destroy the center block if you don’t need it.
Making Even Circle in Minecraft
A circle having even width or height values is called an even circle. Building this type of circle can be relatively more challenging than building an odd circle as it has a center consisting of 4 blocks and its axes are of thickness 2 blocks.
To make an even circle in Minecraft, first generate the circle’s template using the Minecraft circle generator tool, with settings as per your preferences. Once you have generated the template, follow the steps below to implement it in-game:
Step 1: Place four blocks in a square style, which will act as the center as in the template.
Step 2: Make axes or directly make the tips (the middle two blocks of four sides of the circumference).
Step 3: Now, build the curve part of a particular quarter. Subsequently, repeat the same pattern for other quarters.
Use blocks’ coordinates and take the help of the highlight feature to make big circles in Minecraft.
Making a Big Circle in Minecraft
In Minecraft, the construction of many structures requires the use of big circles. With our Circle Generator tool, you can generate a circle of any width and height; however, we suggest staying within 500×500 to avoid lag and freezing issues.
Indeed, this tool utilizes your computer’s resources such as RAM and CPU for rendering the circle. So, if your device is capable enough, you may try to go beyond 500×500 but we still advise you not to cross this mark for the best experience.
In case you enter a large input value in the width and height fields and the page freezes, you may either reload the page to reset the tool or wait for a few seconds or even minutes for the circle to be generated and other options to work again.
How to Make a perfect circle in Minecraft?
The Pixel circle generator generates a perfect circle template and you can follow it to build your structures in-game. However, for smaller circles below 15×15, it may not look like perfect circle due to its pixel nature although it is a perfect circle. If you
So, to build a perfect circle in Minecraft, you can increase the width and height of the circle to something that satisfies you. Simply remember that each and every circle generated by the tool is a perfect circle.
How to make circle inside circle in Minecraft? (CIC Mode)
With Gamingskool’s Minecraft circle generator, you can insert a smaller circle inside the original (bigger) circle. Follow the instructions below to make such a circle using the pixel circle generator:
Step 1: Generate a circle of the required width and height using the first input section. Adjust thickness if necessary.
Step 2: In the more options area, you will see a circle inside circle (CIC) mode with a checkbox. Simply check the checkbox to enable this mode.
Step 3: Subsequently, input the width and height values of the smaller circle (nested circle). Please note that only input values of the specified type, i.e., either even or odd. For example, if your original (big) circle/ellipse’s width and height values are 50 (even) and 49 (odd), that is 50×49, then the label will indicate input an even value in the width and an odd value in the height fields.
Also, if you want to change the size (width or height) of the bigger circle, first uncheck the CIC mode to disable it and then only change the values for the bigger circle to avoid possible errors.
Unique features that you won’t find in other Minecraft Circle Generators
In our Minecraft circle generator, we have tried to add maximum useful features that will provide you with more convenience. The following are the features that you won’t find in other tools and would love to use:
1) Insert a smaller circle inside the bigger circle: This is a new feature that will allow you to see how would it look like if a smaller circle is present inside the bigger (original) circle.
2) Change the color of graph elements: Making a circle in Minecraft is exhausting, requiring great concentration with eyes. To reduce the impact on your eyes, we have added options to customize the colors of the graph generated. Now, set the best color as per your preferences and start building.
3) Choose between thickness options: Thick, Thin, Fill or set a Custom value: In our Minecraft block circle generator, we have given more flexibility to adjust the thickness of the circle. You get three presets Thick, Thin, and Filled; however if you want a custom thickness, choose the custom option from the dropdown and enter a value.
4) Highlight/Erase any block with your favorite color: When building large circles, it is quite difficult to track your progress and you might need to recount often. To avoid such a situation, you might want to highlight particular blocks to track your progress and also make your building plan. You can choose your preferred color to highlight a block.
5) See the number of highlighted blocks: It will show how many blocks you have highlighted in the graph, helping you to build the remaining part.
6) Scale/zoom the graph as large as you want: While the zoom slider allows you to scale the circle canvas between 1 and 100, the input box allows you to scale even larger. You can enter 200, 300, …, or any value to scale it as per your need. This feature will help you in building large circles like 300×300, 400×400, and more.
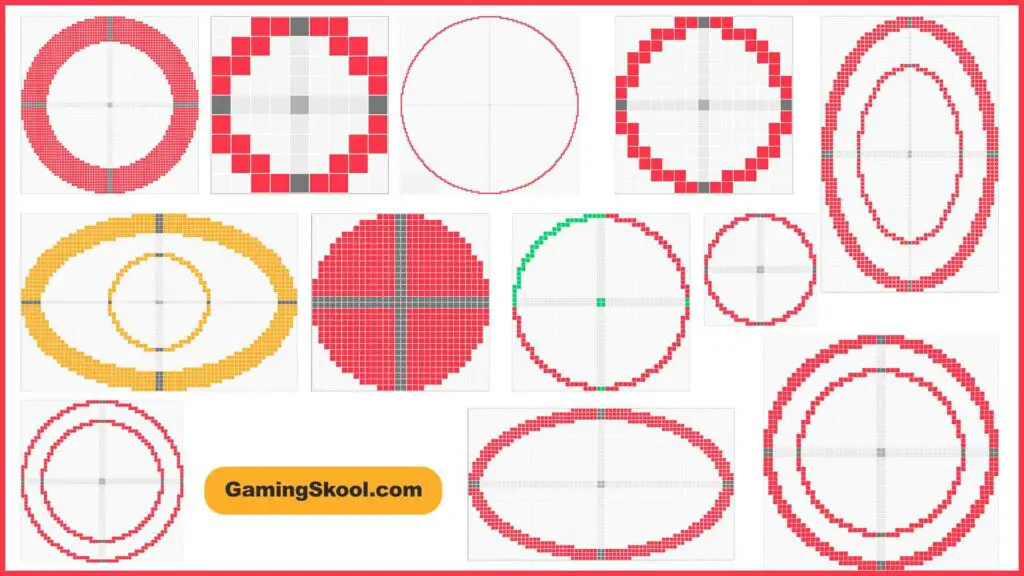
Circle examples generated with the tool
70×45 Ellipse Minecraft 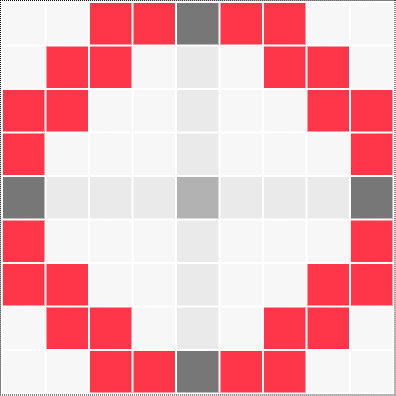
9×9 Circle Minecraft (small circle) 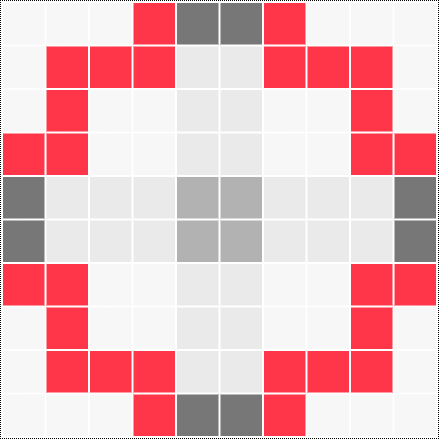
10×10 Circle Minecraft (5 radius circle) 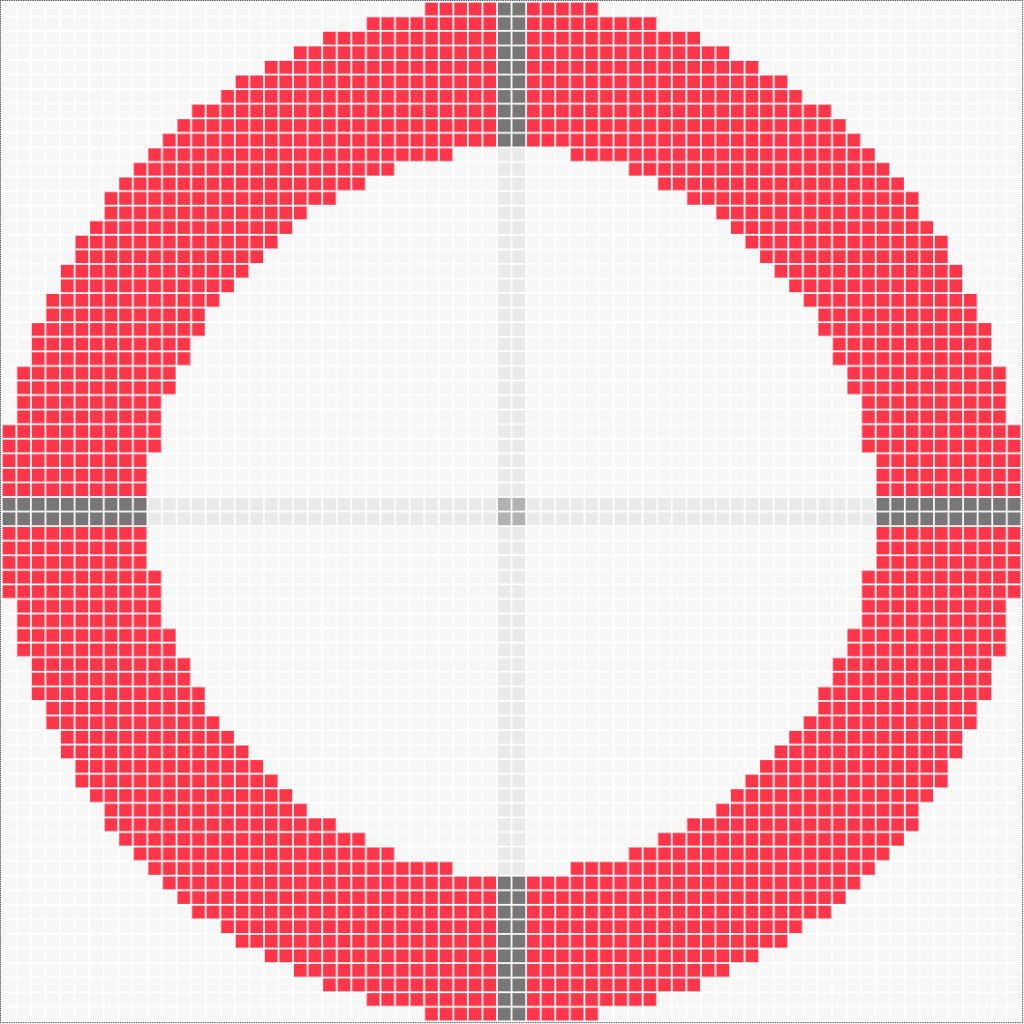
70×70 Circle Minecraft (Thick circle) 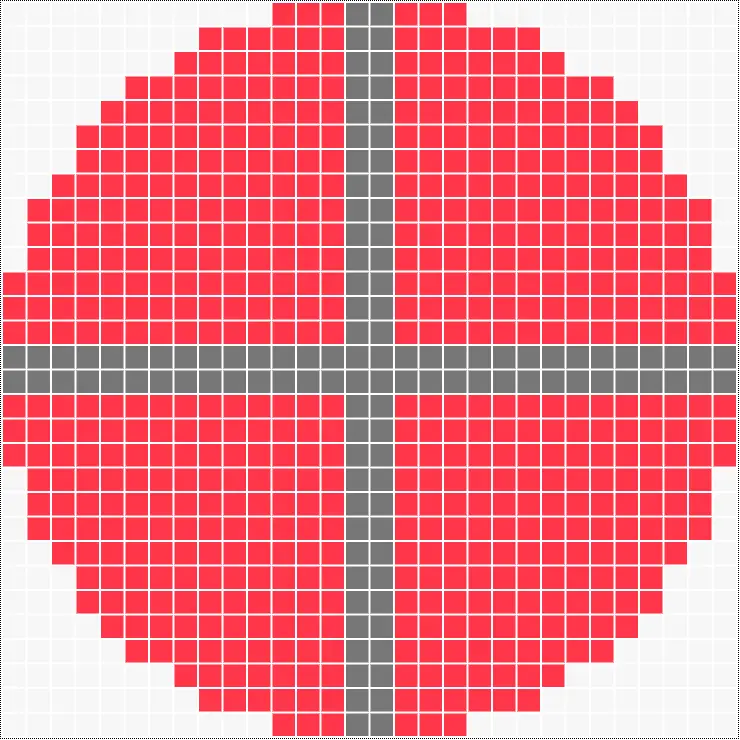
30×30 Filled Circle Minecraft (15 radius circle) 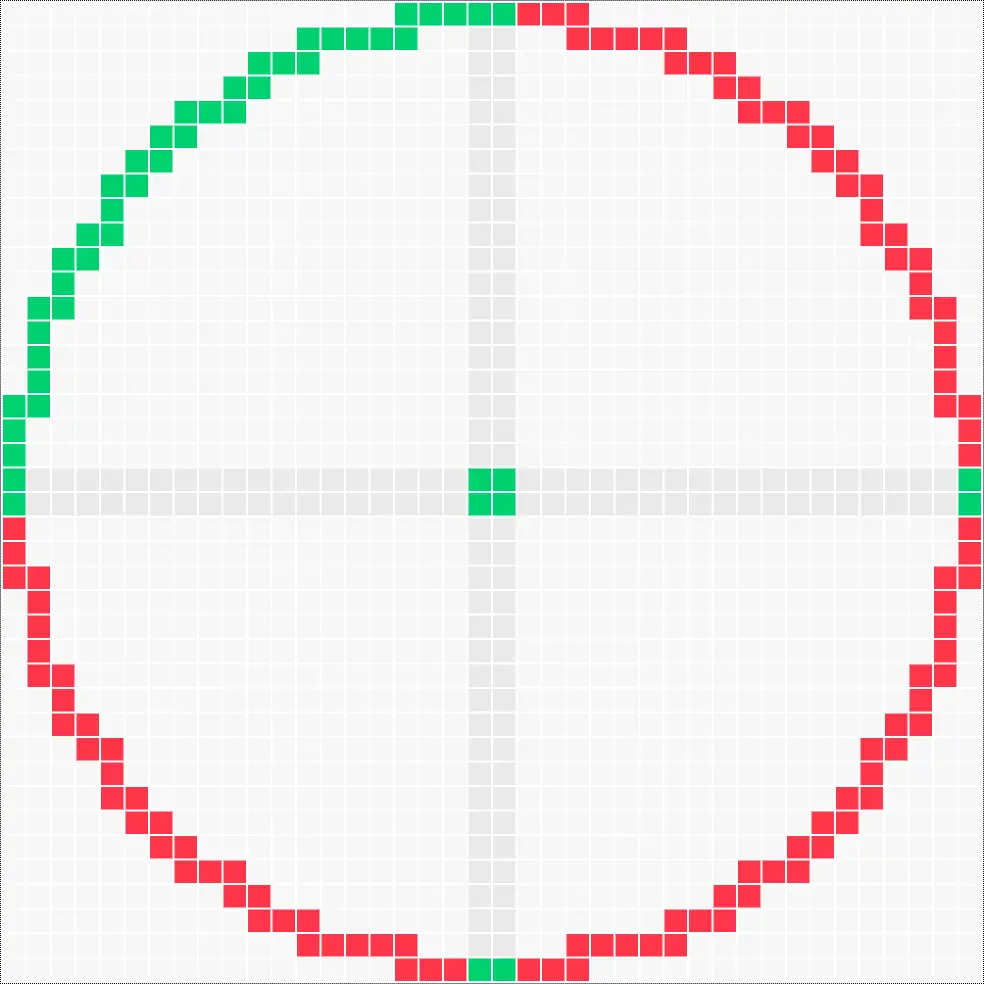
40×40 Circle Minecraft (Highlighted example, 20 radius circle) 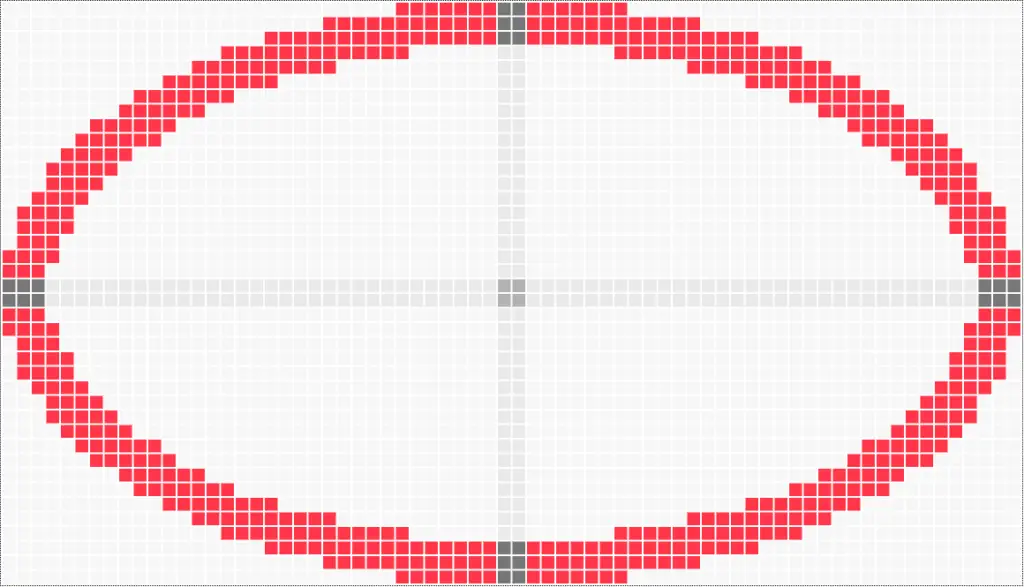
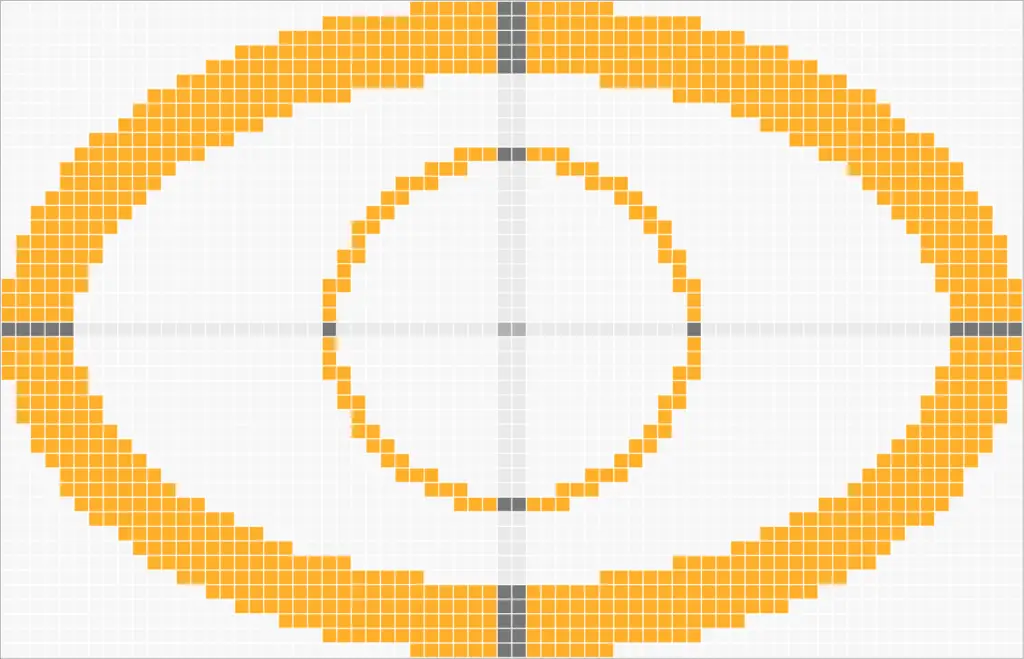
70×40 thick Ellipse Minecraft 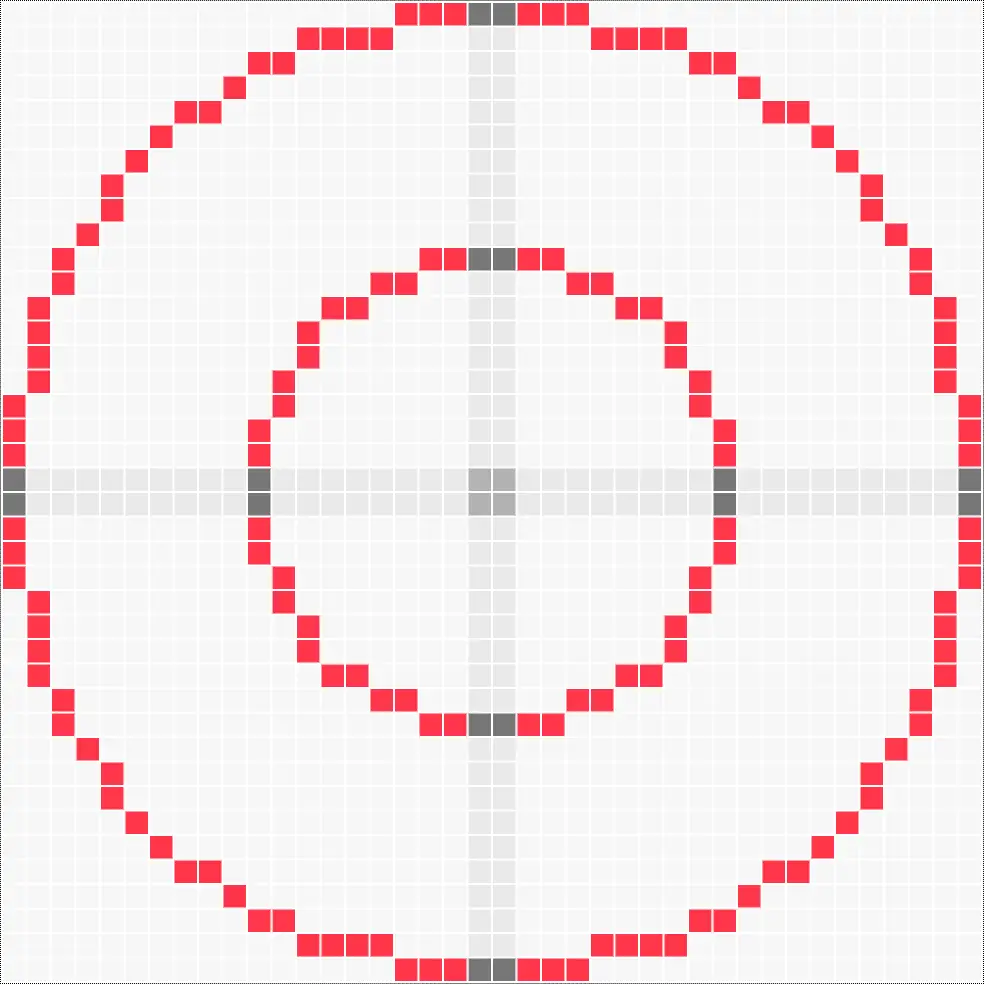
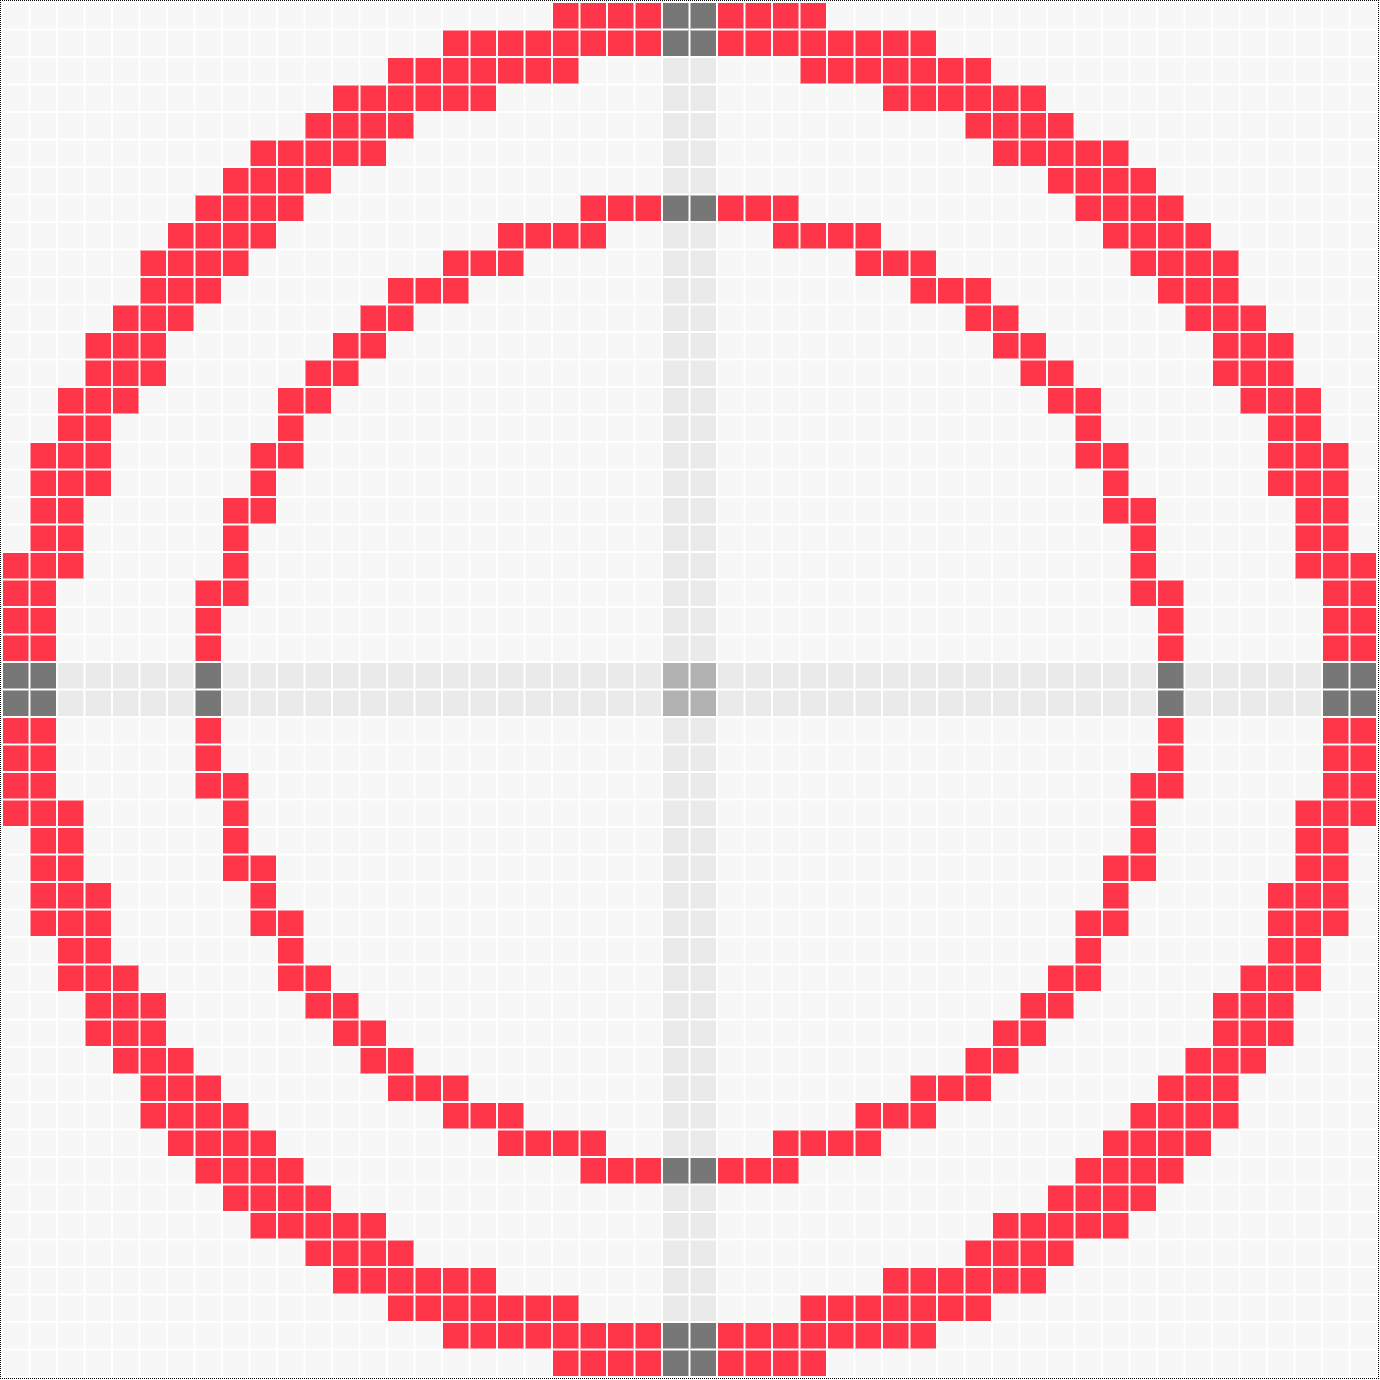
40×40 Thin Circle inside circle Minecraft 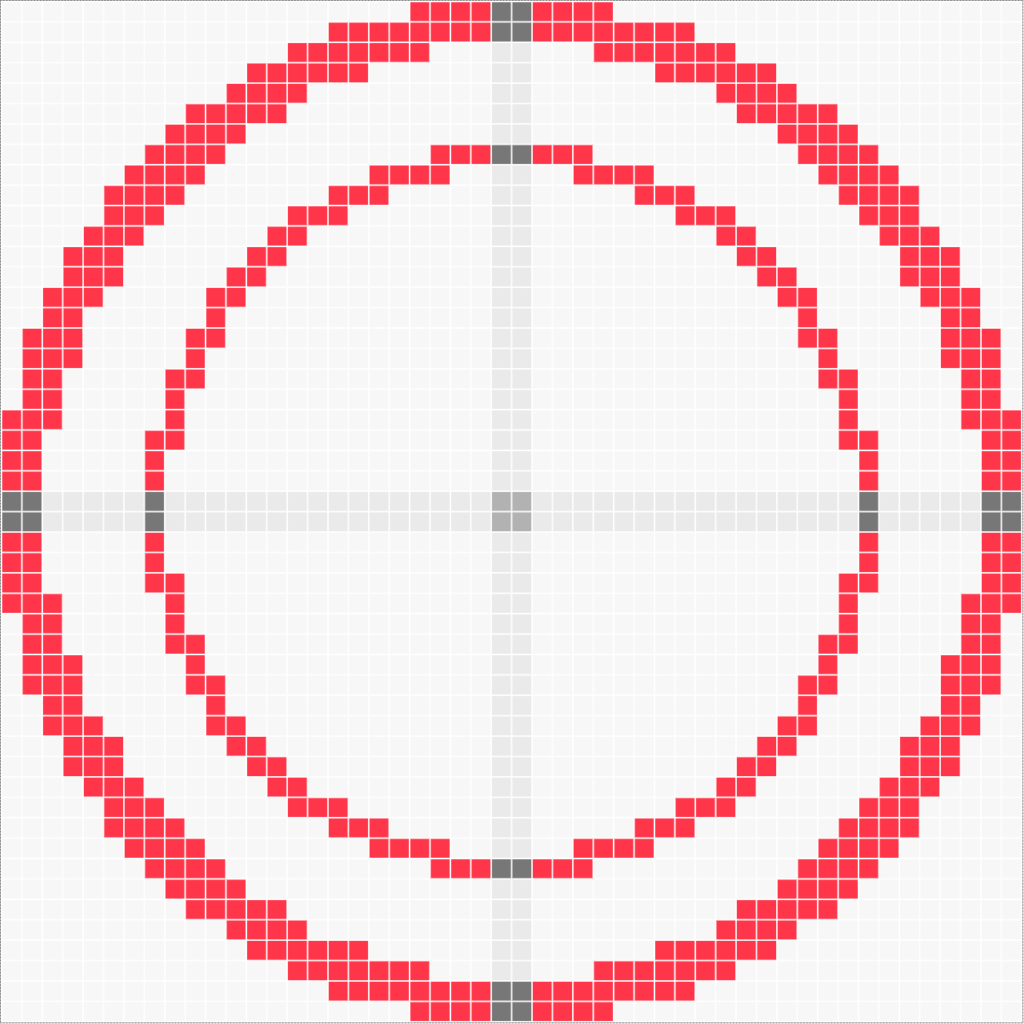
50×50 Circle Minecraft (50 diameter) 
28×28 Circle Minecraft 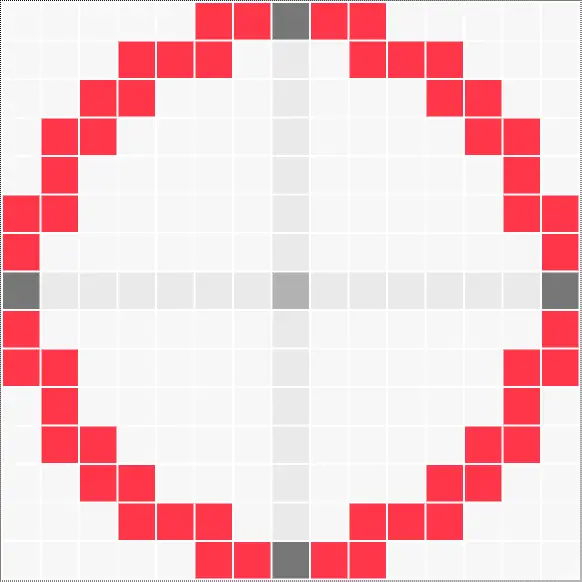
15×15 Circle Minecraft 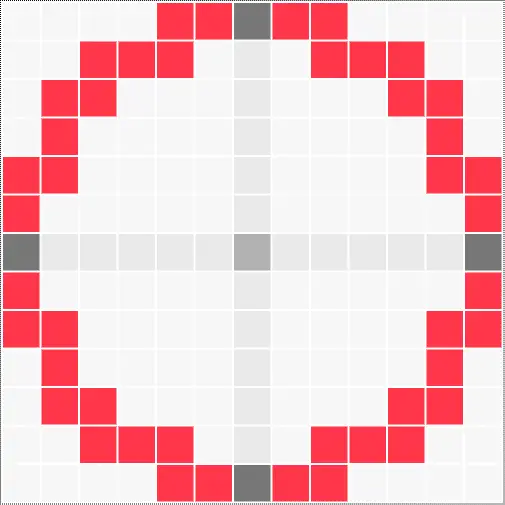
13×13 Circle Minecraft 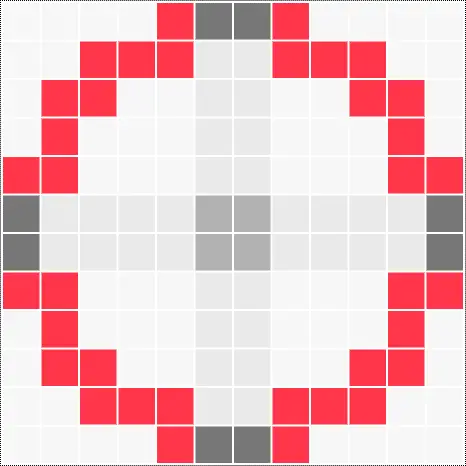
12×12 Circle Minecraft 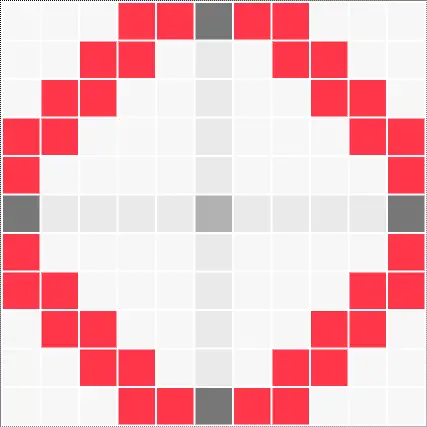
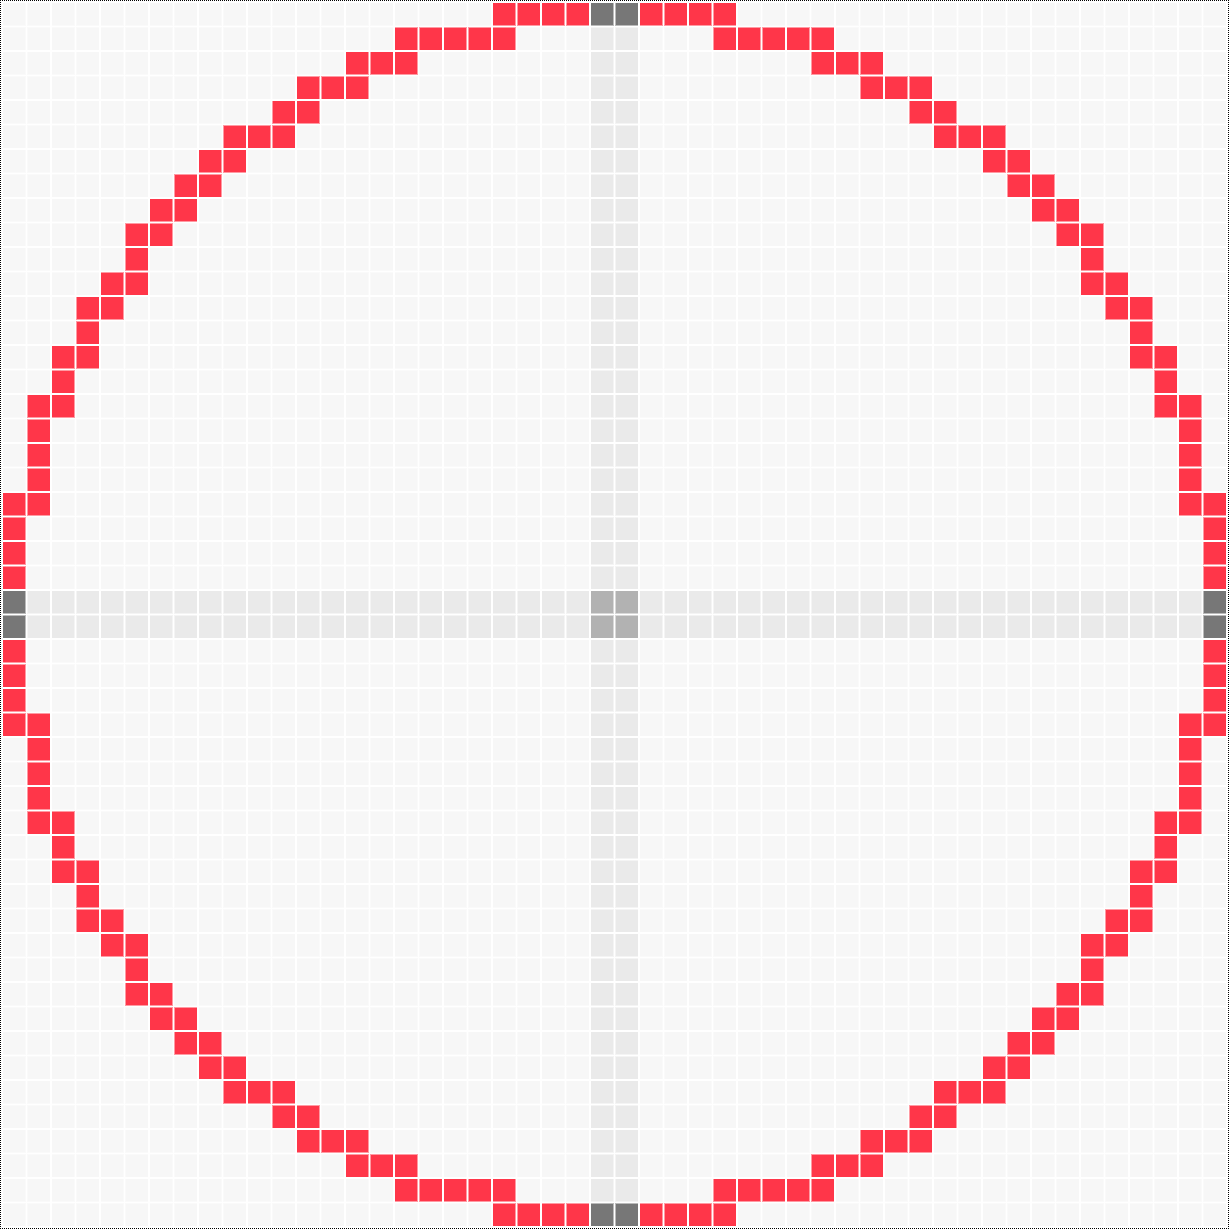
11×11 Circle Minecraft (odd circle) 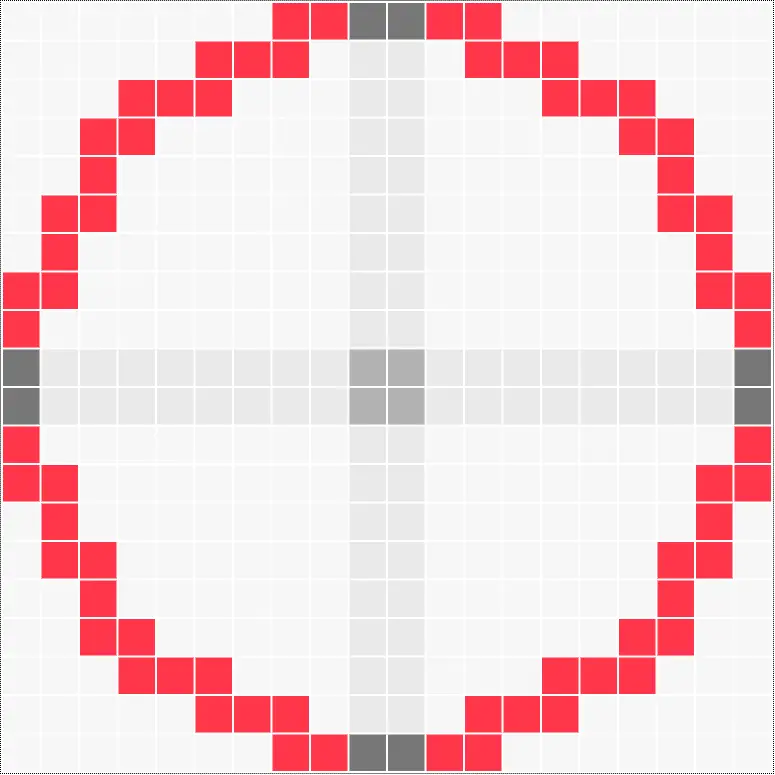
20×20 Circle Minecraft 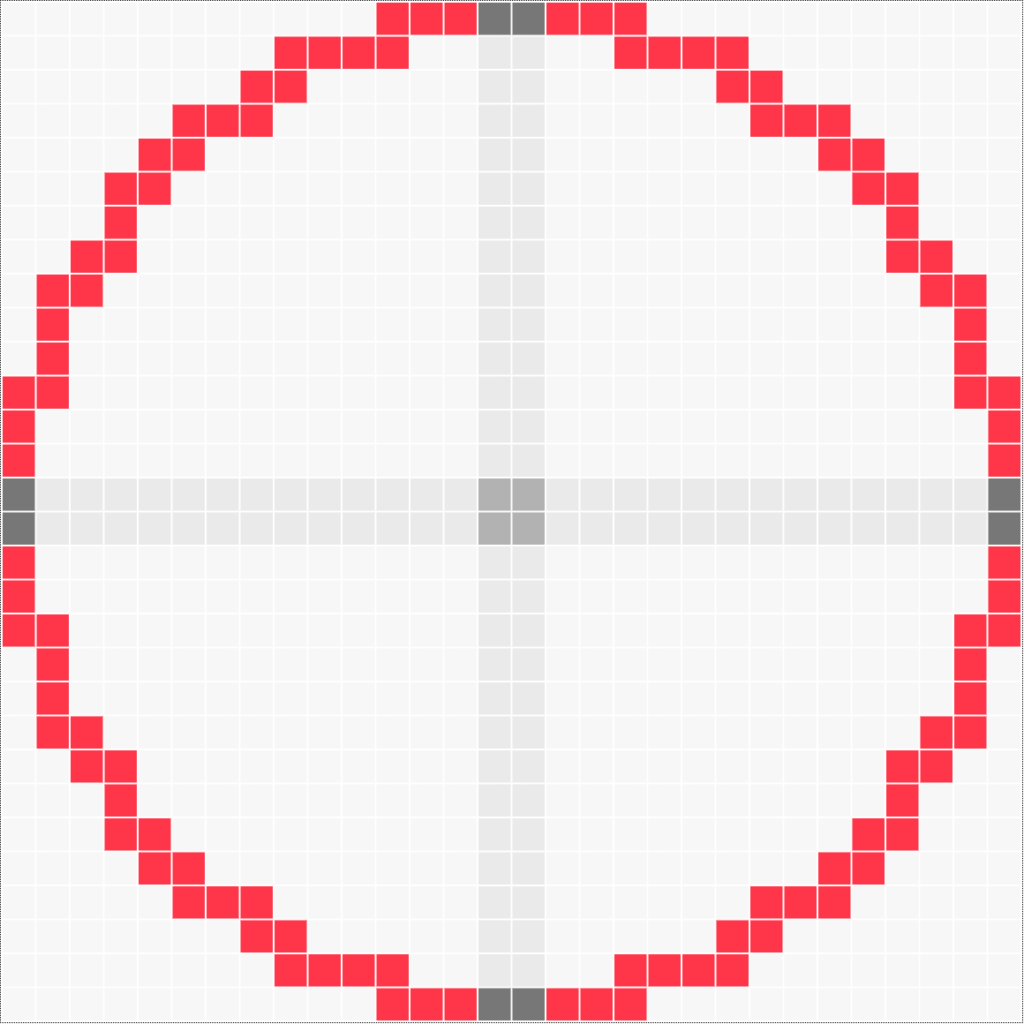
30×30 Circle Minecraft 
40×40 Circle Minecraft 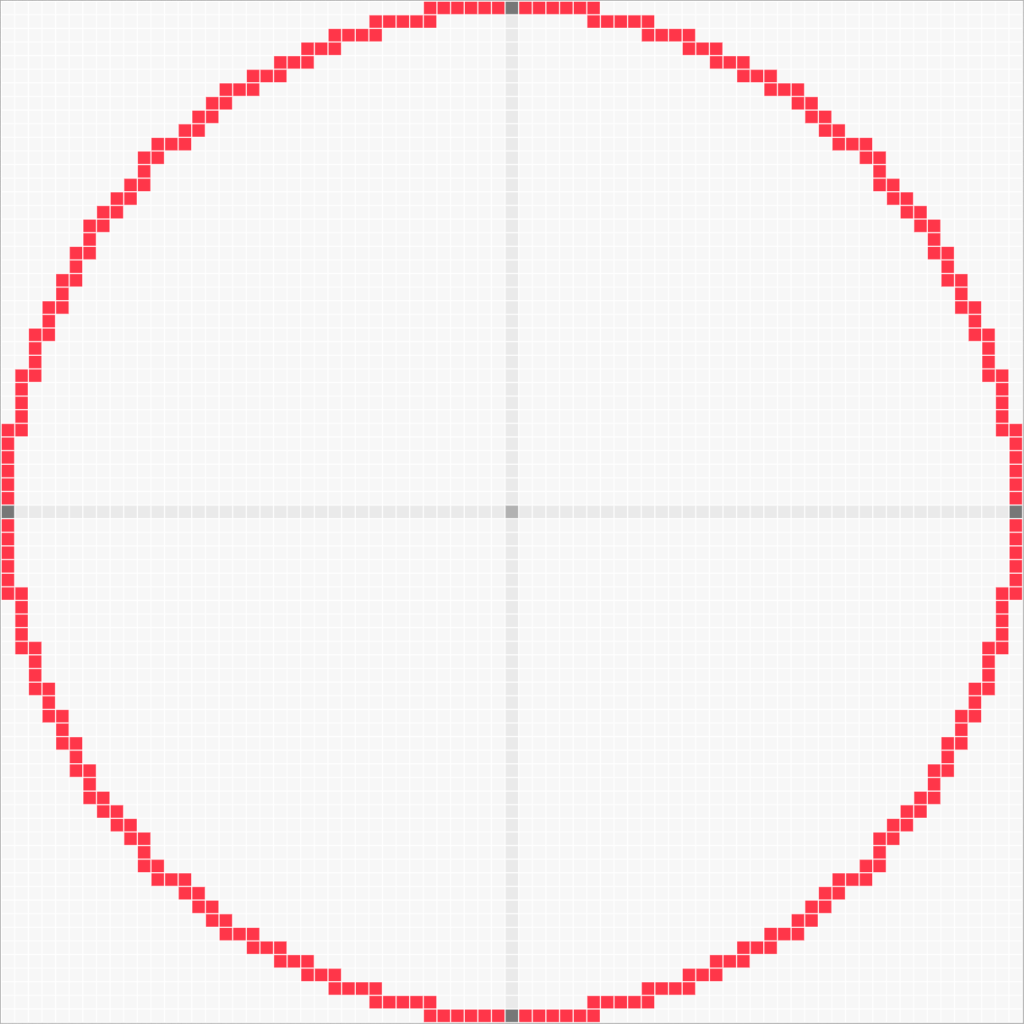
75×75 Circle Minecraft 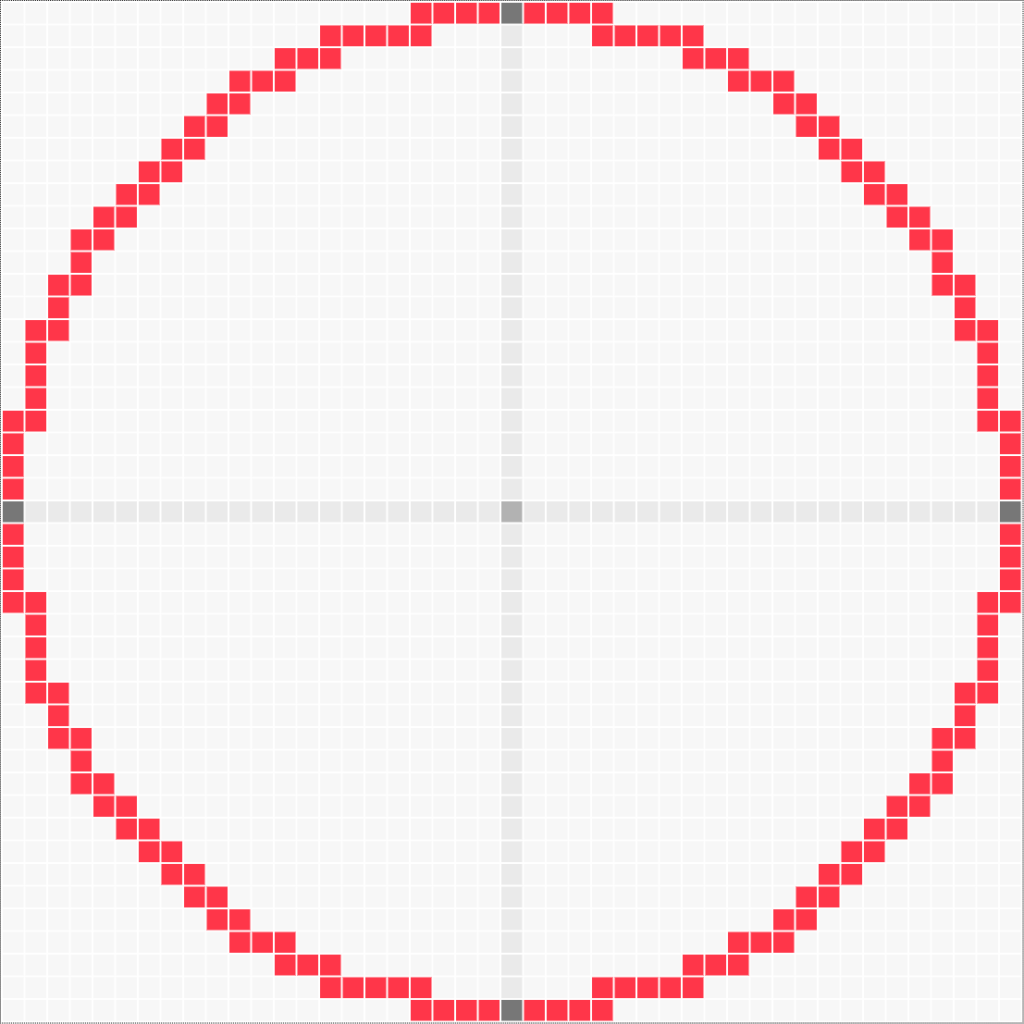
45×45 Circle Minecraft 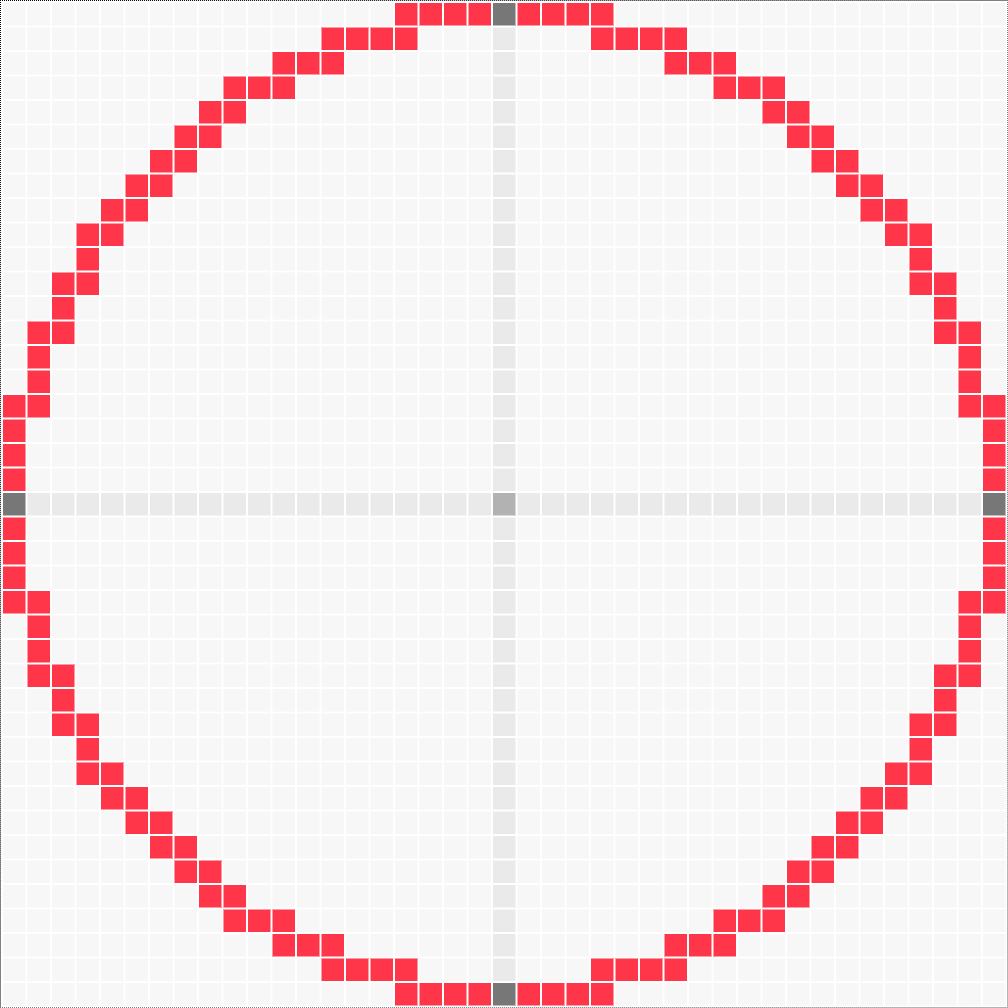
41×41 Circle Odd Minecraft 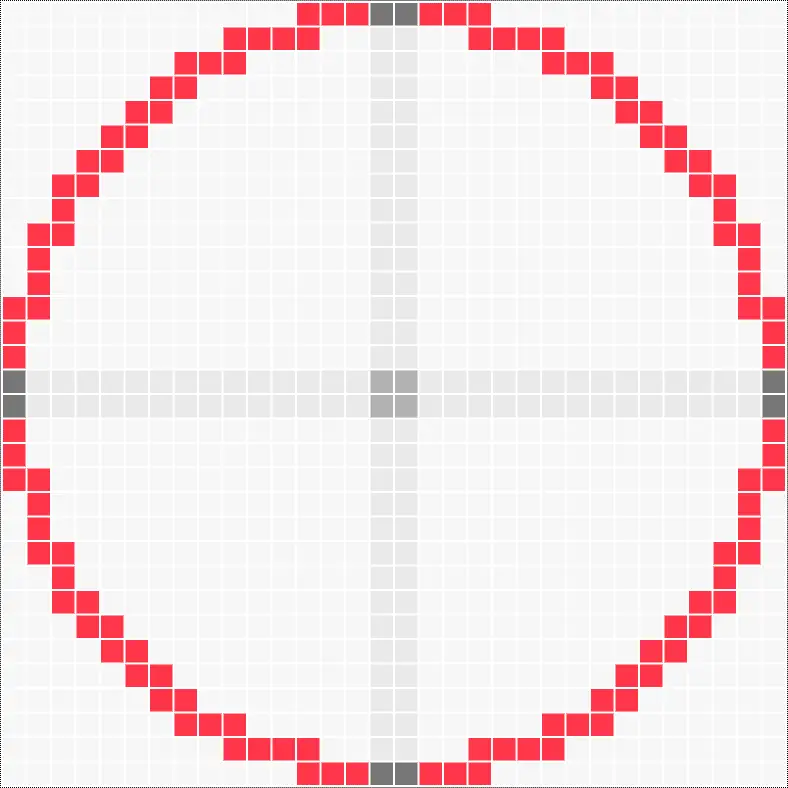
32×32 Circle Minecraft 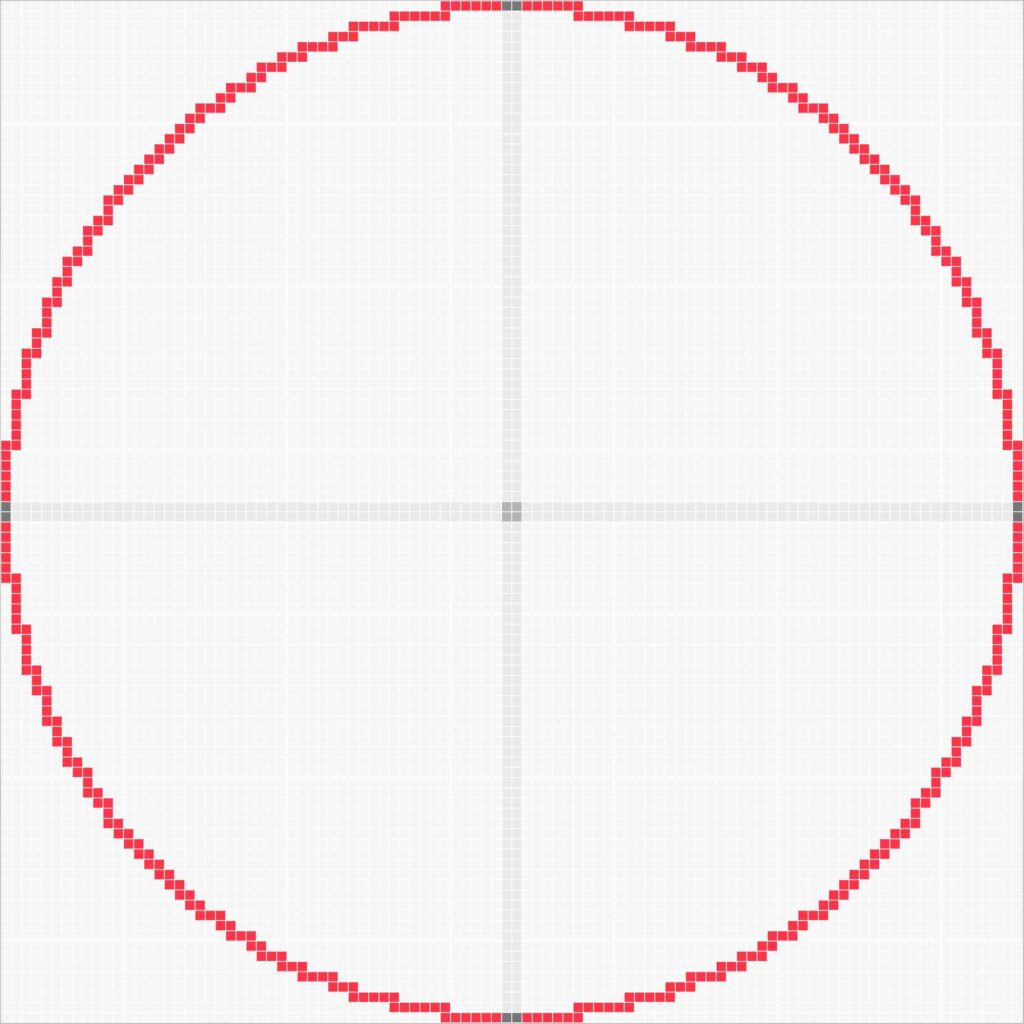
100×100 Big Circle Minecraft 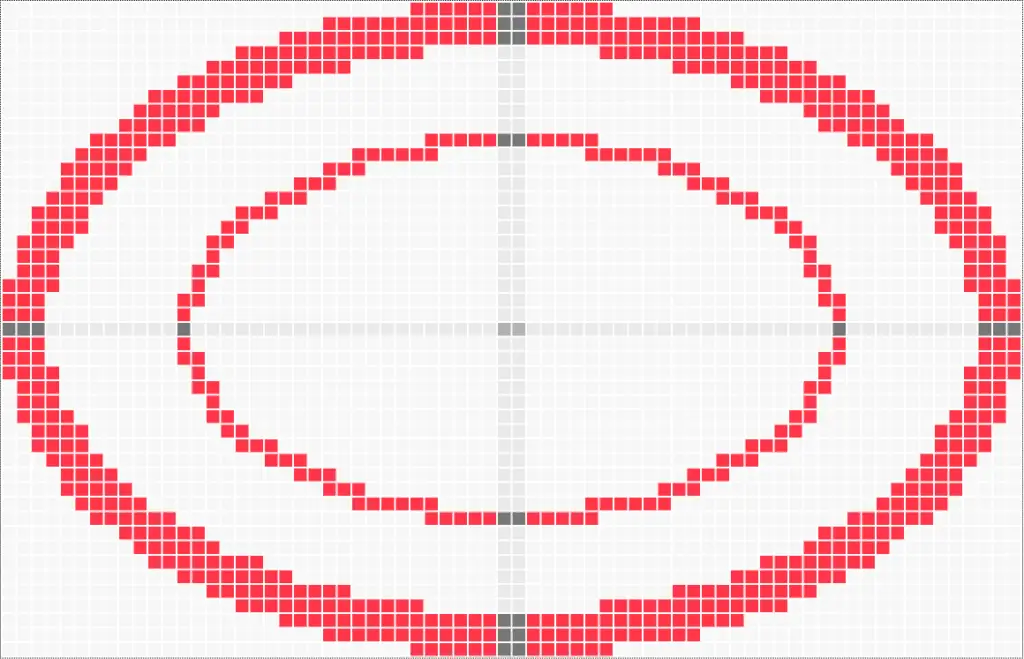
70×45 Ellipse Minecraft 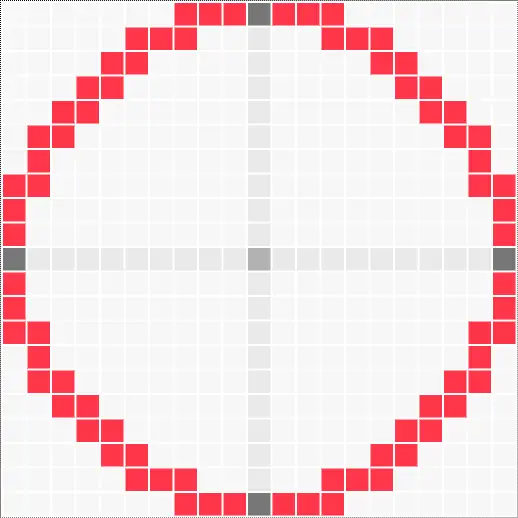
21×21 Circle Minecraft 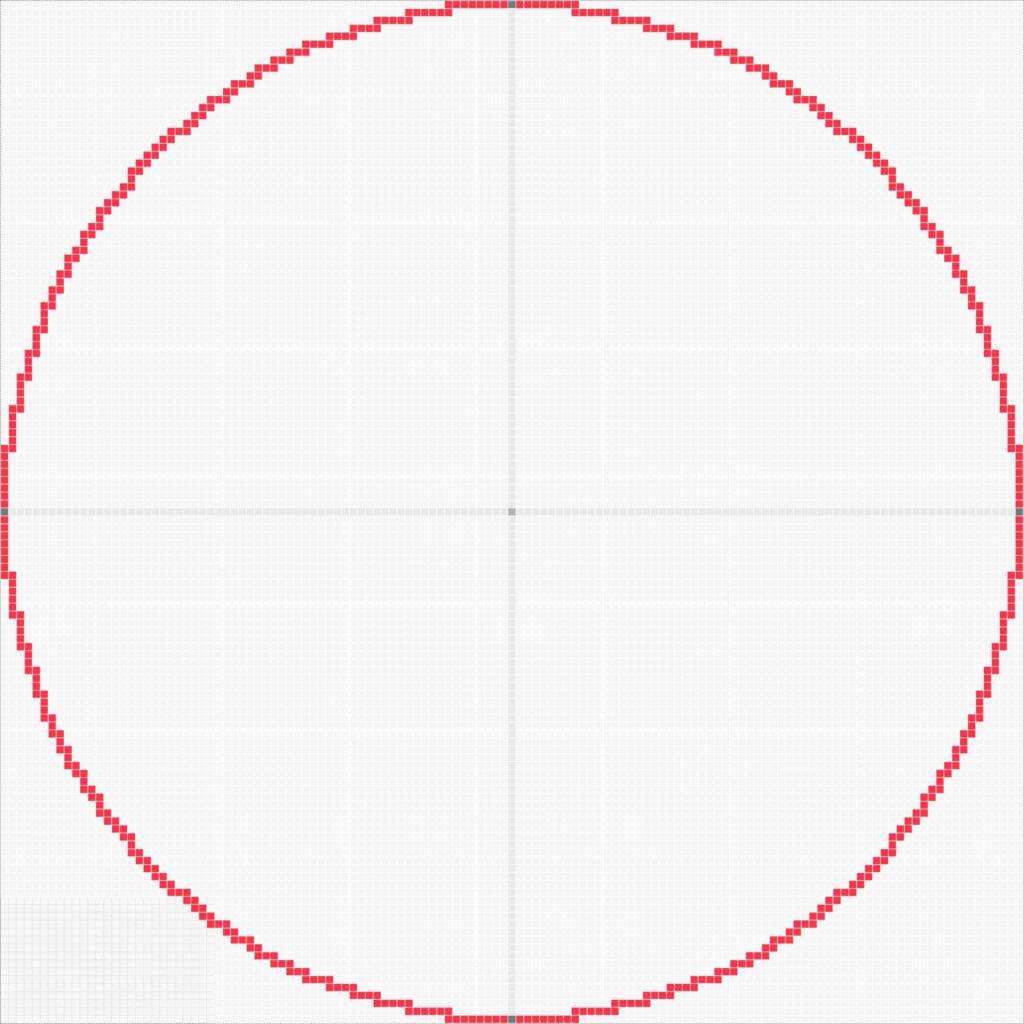
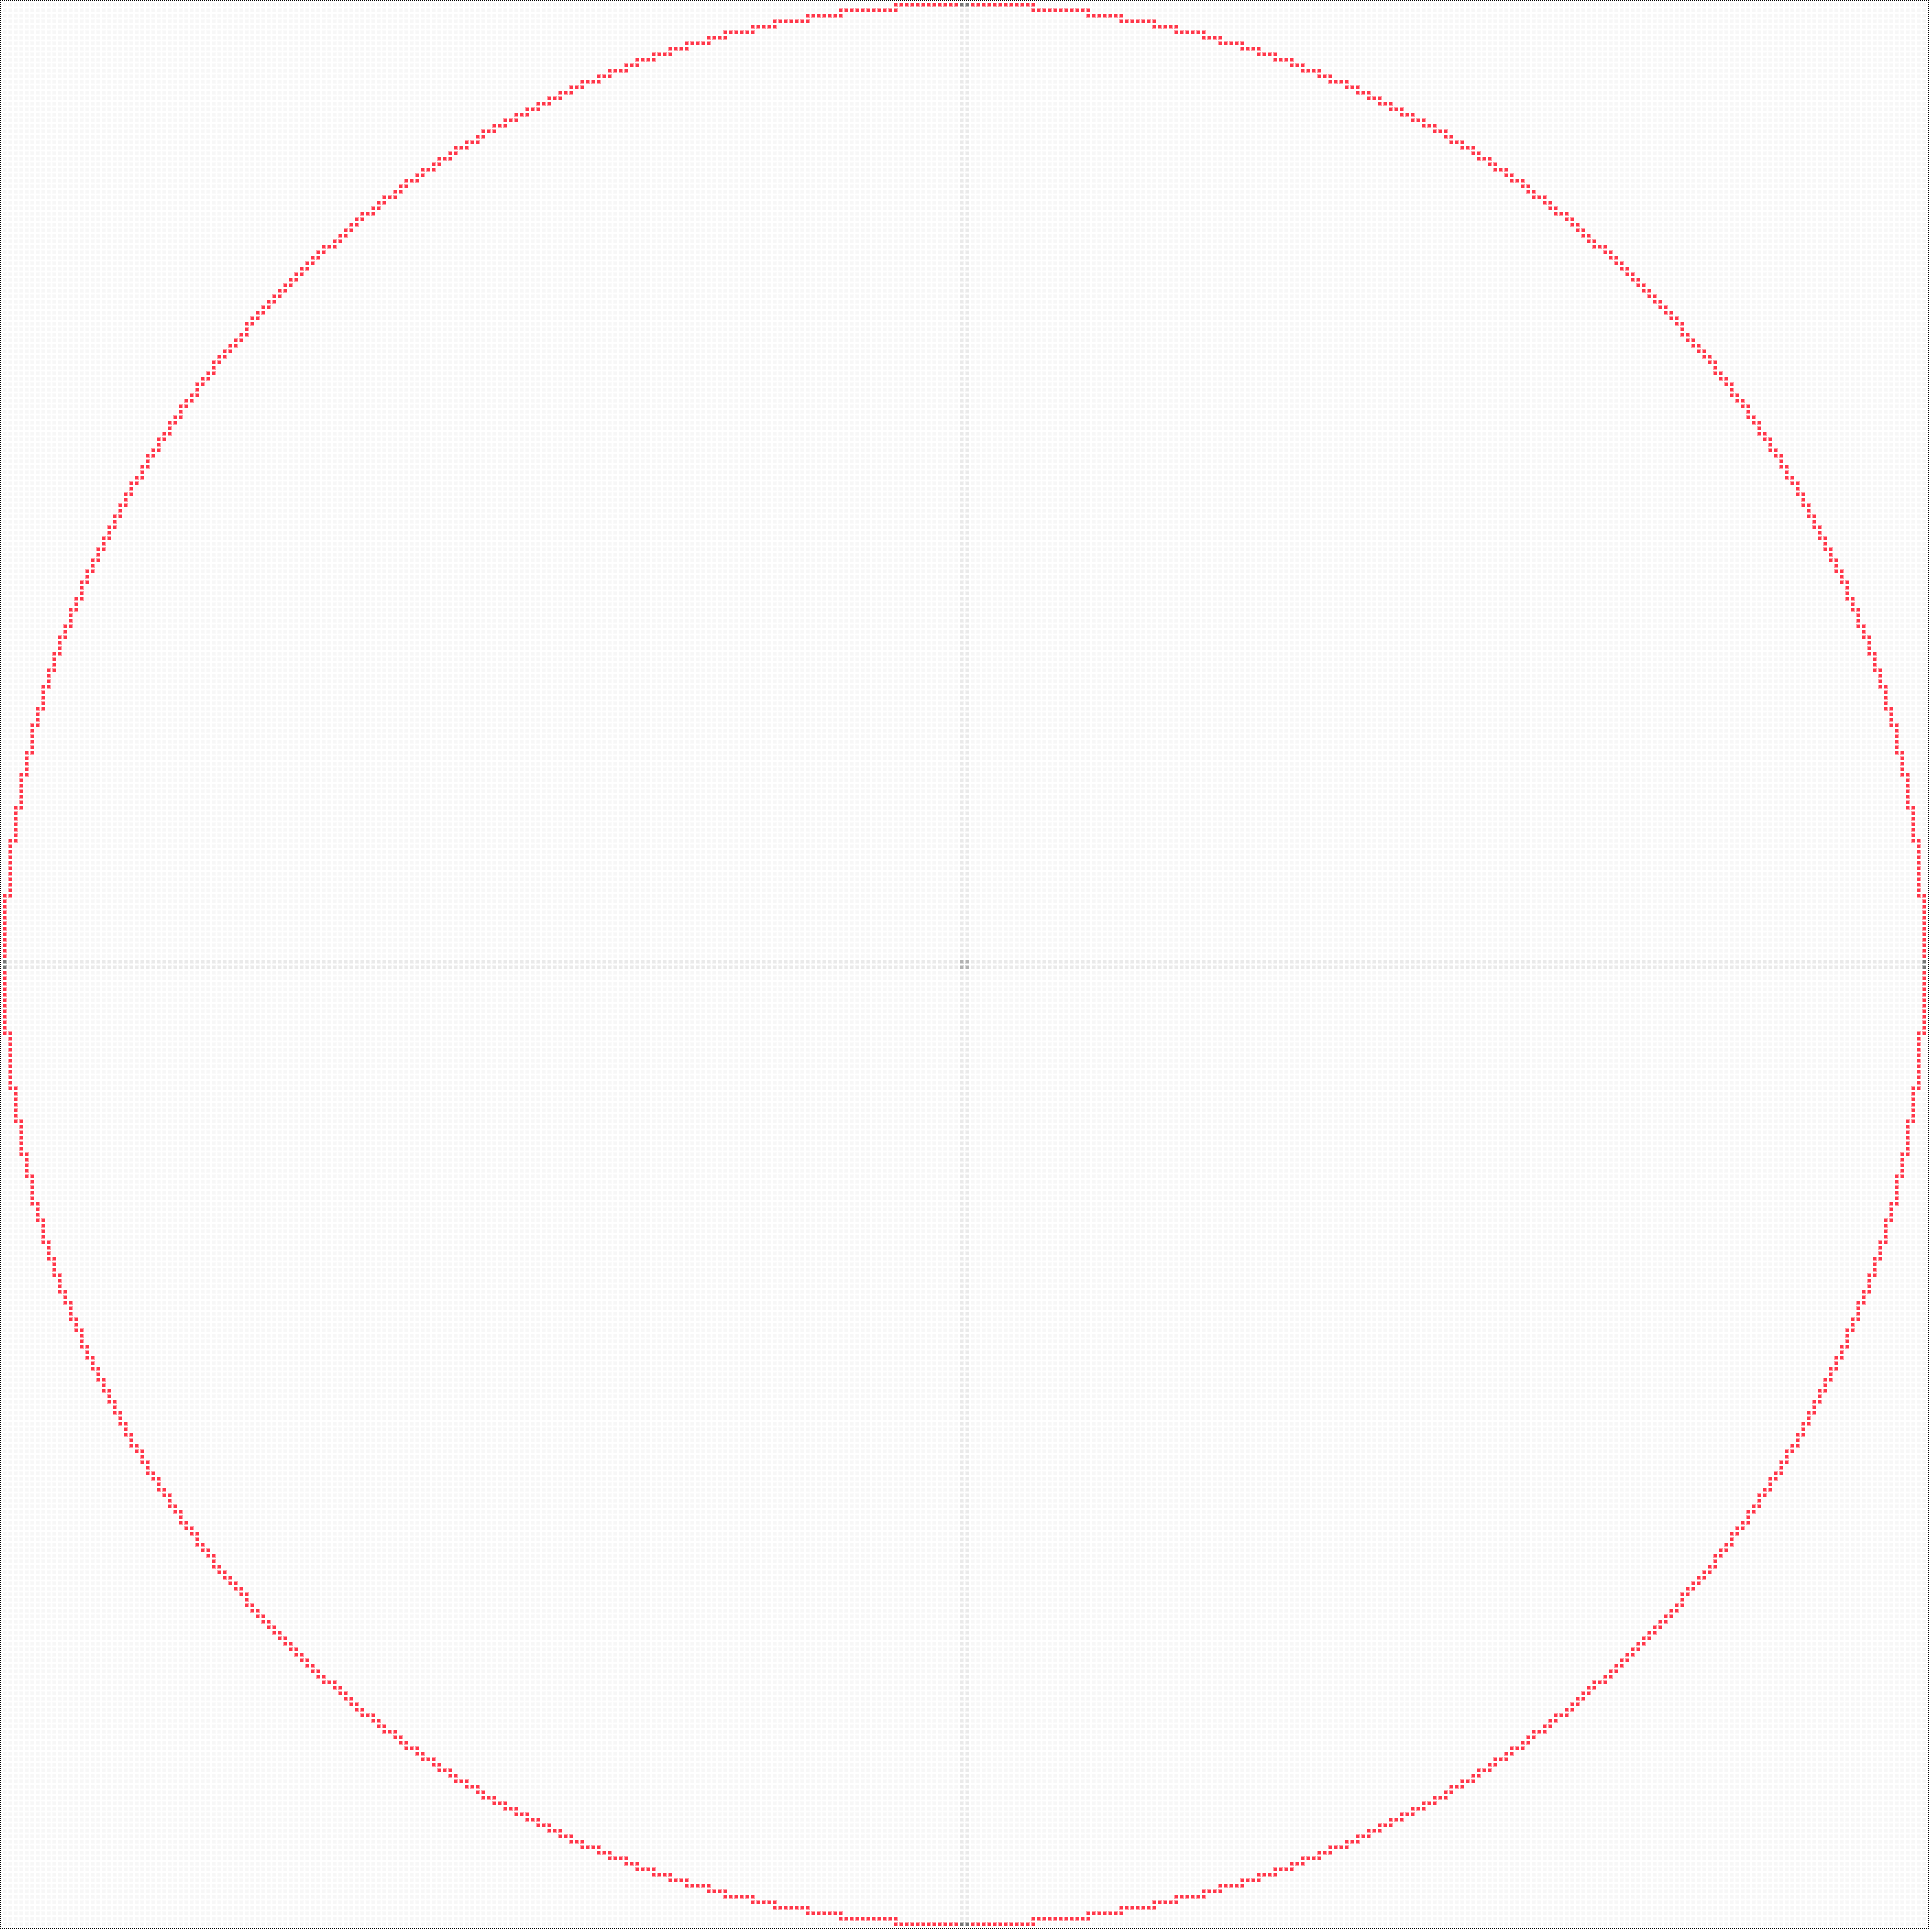
129×129 Big Circle Minecraft
Tips to get faster and better experience
The circle generator tool can be a little laggy for very large circles. To get a faster and better experience, users can embrace the following tips:
- If you want to change the color of the graph elements, do it before specifying the circle attributes such as width and height.
- Disable the CIC mode before altering the width and height of the bigger circle.
- Try to avoid going above 500×500.
- Prefer to download the graph in SVG format for large circles as rendering is relatively faster than PNG rendering.
- Use the tool on large devices such as Laptops, Desktops, and Tablets. It may not function the best in smaller devices like smartphones.
What other games you can use Pixel Circle Generator for?
Minecraft is a sandbox game in which everything you see is in the form of blocks. So, to build a circle in it, you need a pixel circle generator.
There are many such games that you may use this circle generator tool, such as:
- Terraria
- Roblox
- Trove
- Lego Worlds
- The Blockheads
- Craft The World
- Creativerse
- Stardew Valley
FAQs
Conclusion
By using our pixel circle generator tool, users can easily generate circle templates for blocky games like Minecraft and Terraria. All they have to do is input width, height, thickness, and other specifications, and the tool will automatically generate a perfect circle. Next, they can either download the template or keep the tool window open and build the exact circle in-game.
However, users should note that the settings such as the width and height of the circle will not be saved on the browser. This means the previously generated circle will reset if the page is reloaded.
Please comment below with your feedback. We will continuously work to make this tool better.